Friday 10 January 2014

Cabinet clean up


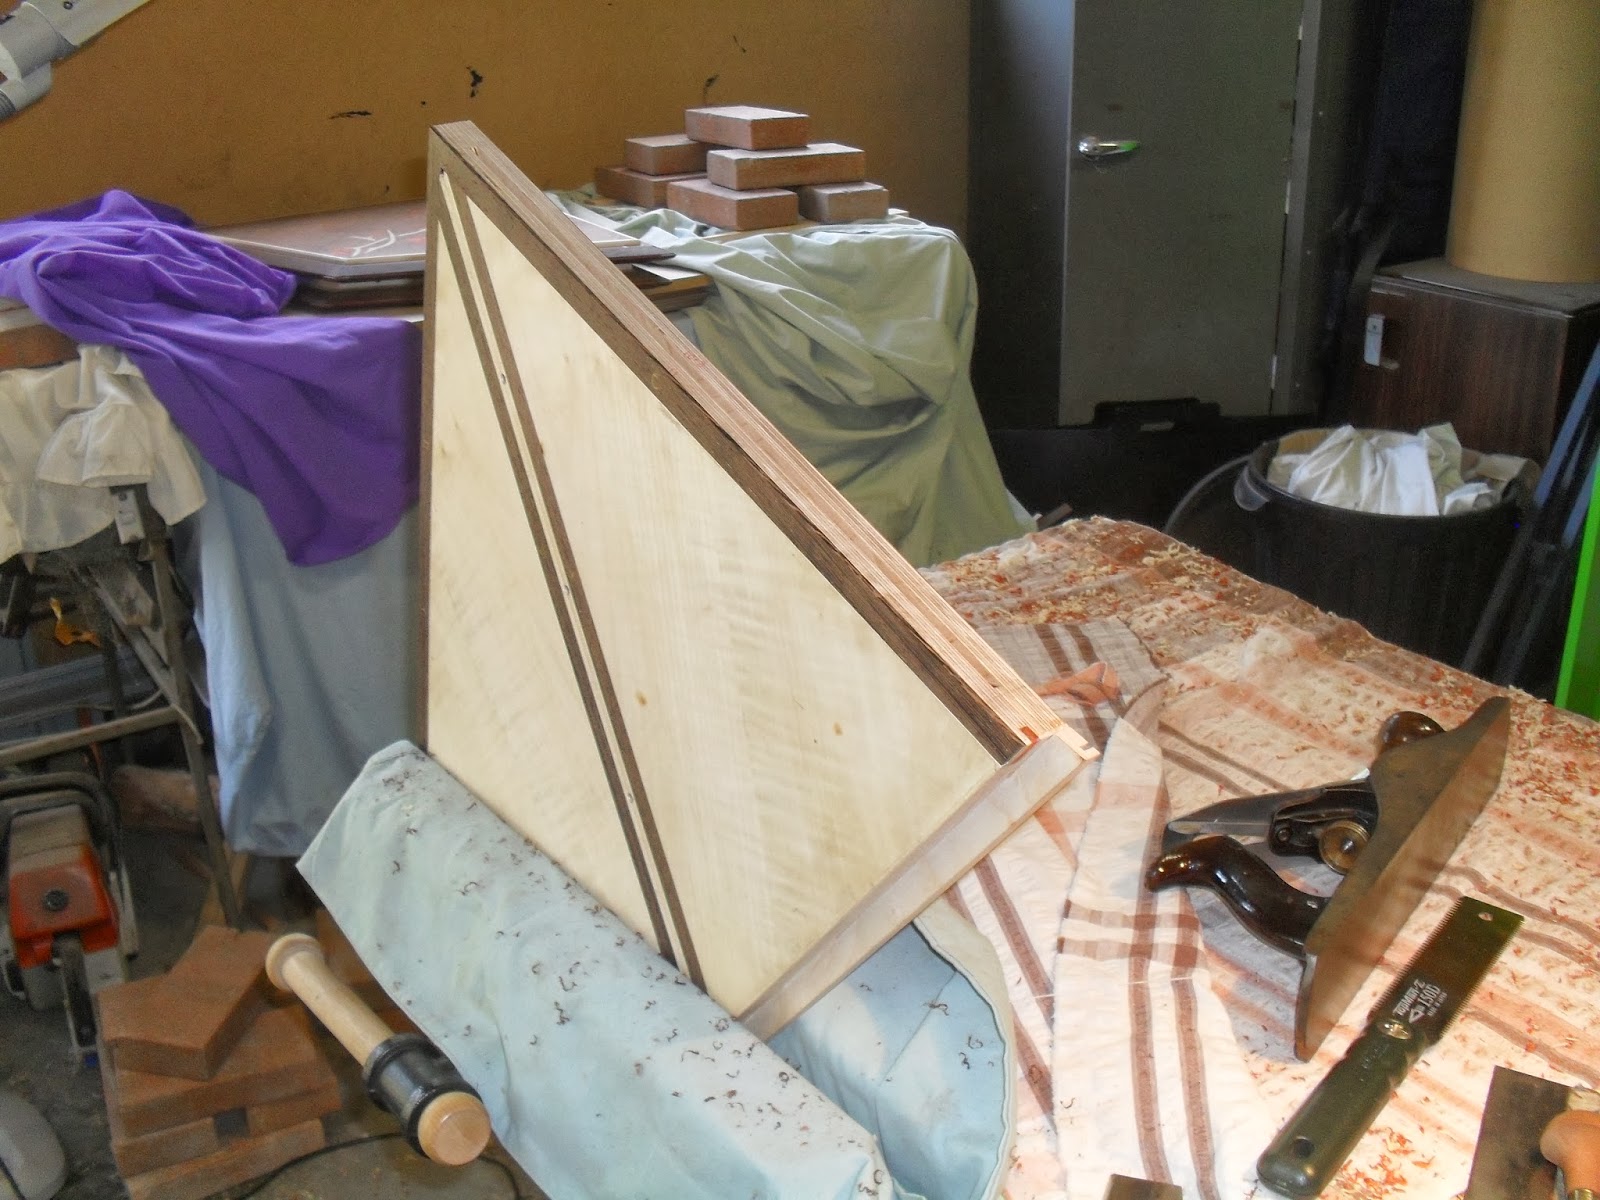
Cleaning down the paduke splines which are located in the some of the panels. This is the Ikebana base panel.


The problem with paduke especially near the end grain it splits out to much since it is quite brittle.


Cleaning the paduke splines down on the top carcass panel. This was a bit of an awkward spot to remove the waste sections with the flexi Japanese saw. It would have been best to clean off the paduke spline than add in the top edging.


Cleaning down the over hanged inlay wenge sections on the top carcass panel.


Cleaning down the stringy inlay for the molds for the cabinet top also the Jarra miter splines.


I had to change direction when planing with the spoke shave blade due to grain direction changing.


Stringy inlay all cleaned down and flush with the rest of the cabinet.


Cleaning down the stringy inlay for the cabinet base


Stringy inlay all flush with the rest of the cabinet.


Started to clean down the wenge inlay strips that were on some of the panels.


As well as making the inlay flush with the panels I puttied up the gaps there were there with some ebony timber mates putty. This is the bottom of the Ikebana base.


Cleaning down the inlay strips for the top carcass panels and filling up the gaps with putty.


Planing down the inlay strips for the inside sections of the cabinet sides to make them flush with the rest of the panel.


I have been having some hot weather at the work shop and have noticed that some of the sides have started to bow even though I have had them under blankets with weight on them. I'm pretty sure they will pull in when I do the major assembly.


Began cleaning down the wenge inlay strips for the drawer box divisions. 


Filling up inlay gaps. 


Filling up the inlay gaps with ebony putty. I tried using some jarra and other red puttys but when dry they did not seem to match up well with the colour of the paduke. The ebony putty seemed to match a lot better since it went well with the wenge.


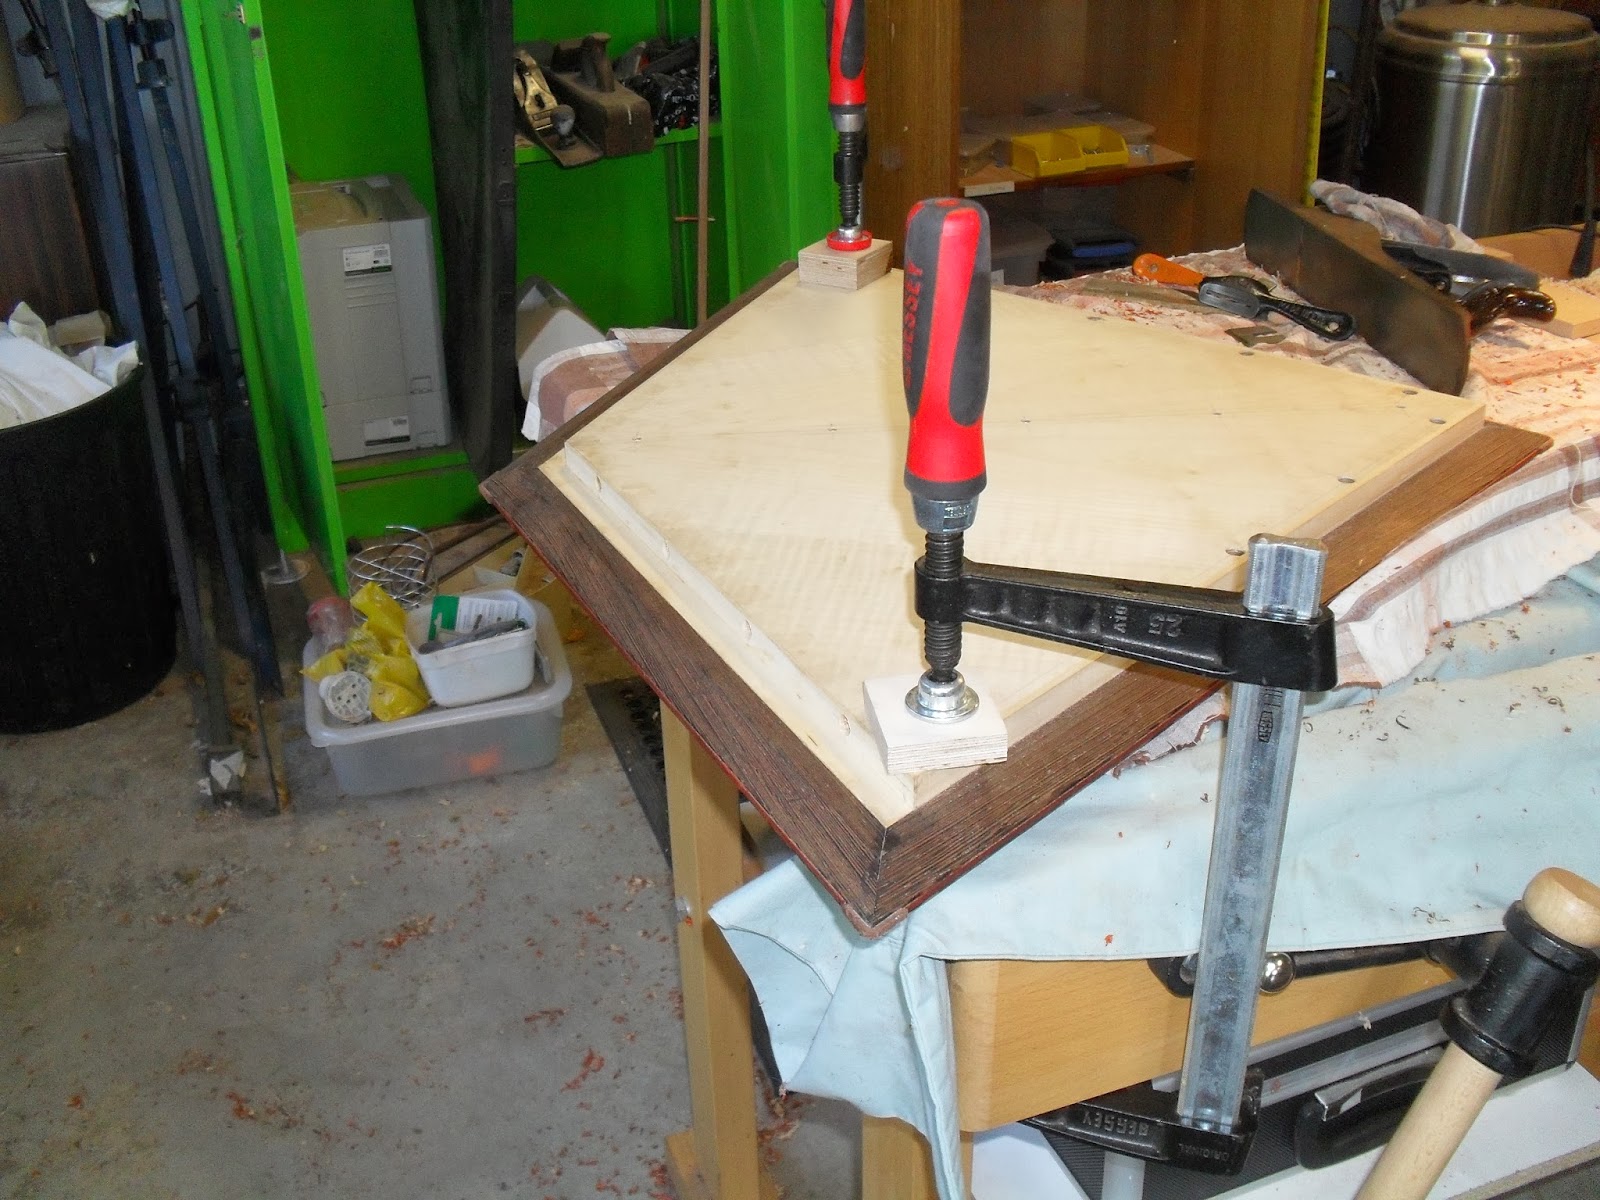
Top all sanded. This is not a final sand I just wanted to see what it was going to look like when all the putty was removed. I did this on tests first but it was only on a small inlay piece. I wanted to see what it would look like on a larger scale.


I used meth to see what it would look like ( meth acting as a finish) It actually turned out pretty ok. There are some bigger gaps that I wont use the putty for, this is mainly on the stems. Ill have to cut some little bits of American Beech and glue them into the cavitys.


There were some gaps with wenge inlay strips for the drawer box divisions which I puttied up with some ebony putty.


I actually found that using the super glue method and rubbing dust into the gaps creating an almost natural filler worked a lot better than the putty even though it was going to take a bit longer. Clean up will also take a lot longer as well.


Finished off filling up the gaps with the super glue and dust for the back doors. Like the top there are some other areas that will need small bits glued into the cavities.


Finished filling in the gaps for the bottom and top door flaps as well. There are some big fix ups I need to do which I mention a few posts back.


Finished filling in the gaps for the outside side faces.


Planing down the maple inlay strips on the sides.


There were some gaps near the inlay strips which had to putty up as well.


Filling up the gaps for the inside inlay sections with jarra putty. The super glue method did not really work so well with the maple veneer. It worked really well with the wenge due to it being very powdery when sanded.


Filling up inlay the gaps for the Ikebana base and top drawer base panel.


Filling up inlay gaps for the bottom right front door flap.


Filling up the inlay gaps for the back left door.


Filling up the inlay gaps with super glue and dust for the drawer box bases. There are some bigger gaps with the stem inlay where I will need to glue in some small bits of timber into the cavietys.


There were also some gaps between the paneling and drawer slips which needed to be puttied up as well.


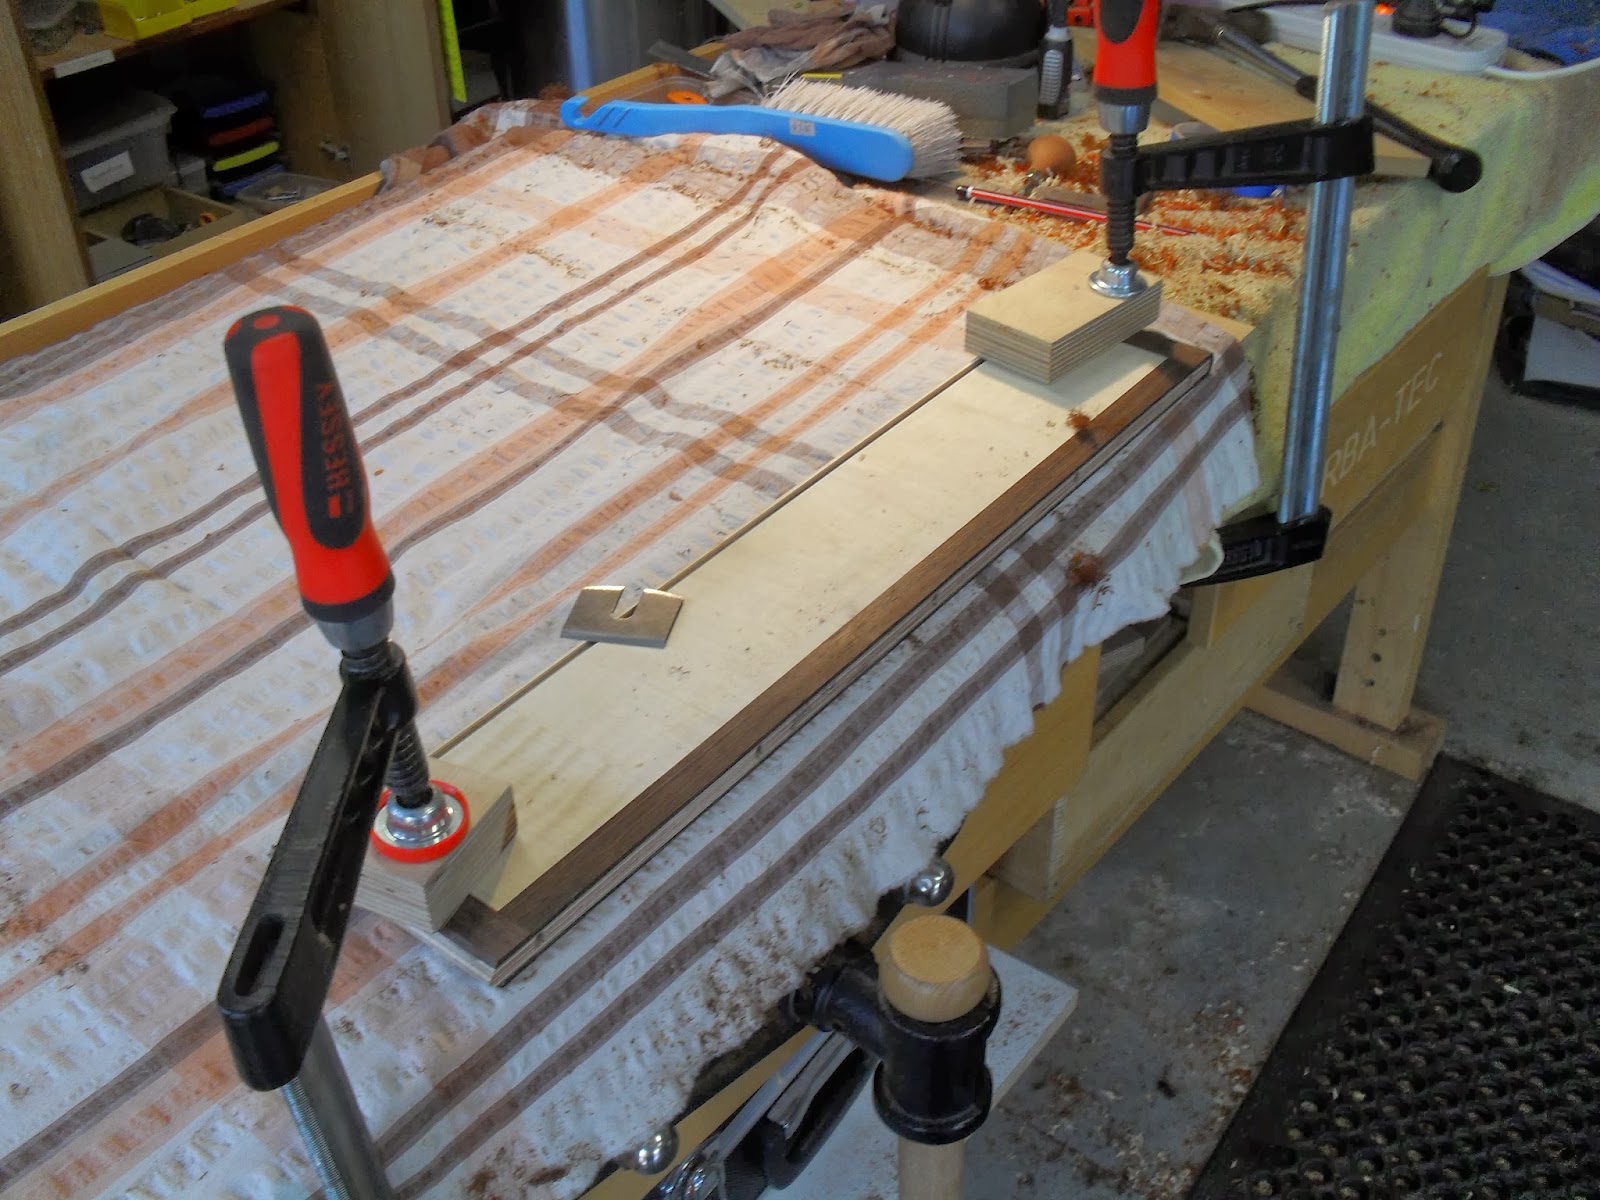
Cleaning down the front wenge inlay strip on the inside of the sides as well as cleaning down the wenge veneer.


Close up shot of the section end where I had to attach the veneer. 

Saturday 14 December 2013

Miter splines in mouldings and other cabinet panels.


Machining miter splines into the top molding section, bottom cabinet base molding section, ikebana base, top drawer base and top carcass panel. They are not so much for structural since they don't really need it its more for aesthetic qualities. 


I made all the miter spline cuts on the spindle molder using a 4mm saw blade. I wanted the splines to be 20mm in length on each side. ( the same as the doors and drawer box lids.)

The splines were also located in the middle of the panel.


To make these cuts required me making jigs to hold in the piece. I did not really need to use toggle clamps since it the cutter wasn't taking out huge amounts of waste and also there was plenty of total surface area for the parts to sit on so support wasn't an issue.

I just had to press down the corners a bit when making the cut since some of the panels were a bit bowed.


The jig parts were made the same as the door and drawer box lid ones. With these type of jigs you want to make them as simple as possible.

To insure that I was going to obtain the right cut I made the cut into the jig first. The inside exit cut on the jig would show me what the length of cut on each side for the part was going to be since the parts edges would be pushed flush up against the jigs fence.

These two set ups are just for the Ikebana base and top drawer base. I only had to machine miters in the sides and front.


Machining the miter splines in the top and bottom of cabinet. I had to make splines for the front, sides and back.


The spline cut had to sit just in the middle of the paduke strip. The paduke inlay housings were done on the saw which meant that they would be about 3.2mm.

I wasn't going to use paduke in these spline cavities I was going to use small strips of jarra as I wanted to create a feature with it.


Machining the miter splines in the sides.

For the ikebana base and top drawer base I was using thinner fence material for the jig. When coming to the top and cabinet base I had to machine some more fence material that was thicker since these parts were thicker than 16mm which is what the thickness was for the other parts.

I ended up using 32mm thick ash. This meant that I had to raise the hight for this set up. The depth of cute between the back, front and sides had to be different to be able to obtain the 20mm visual length on each side.


Machining the miter splines for the tops back.


Machining he miter splines for the bases back.


Machining the miter splines for the front section (front and side points) for the top carcass panel. I needed the saw blade to come out more so this required me removing my fake fence so I could get some more play. The fake fence was merely just there to act as safety not showing most of the blade.

The main reason why I needed to remove the fence was more so because of the edging that surrounded the top carcass panel. If I new earlier that I was going to use miter splines here I would have added the edging to the fronts later on. This spline edging idea was more a last minute thing.


But due to the edging this meant that The edges where the splines are would not be sitting up against a fence. I had to use blue painters tape to act as a breaker. ( prevent grain break out). Thats one of the main reasons also for the fences to prevent grain break out on the parts.


I only needed to do one jig set up for the sides.


Miter spline groove.


Cutting the small pieces of jarra to size to be glued into the miter spline grooves.


Removing some of the waste sections from the miter splines making it easier to clean later down the track.


Making the miter spline pieces ( paduke) for the ikebana base panel, top drawer base panel and the top carcass panel.

I glued the spline pieces in with tight bond 3.

Tuesday 19 November 2013

Whole Cabinet construction


Machined splines to attach the Ikebana base panel, top drawer base panel and top carcass panel. This wasn't the main dry run but just a visual run to see what the cabinet was going to look like.

I needed to see what modifications I was going to need to make.


The drawer divisions do not have dowels placed in yet.


Just placed the back and front bottom door flap up against the cabinet to see what it was going to look like.

I noticed that there is going to have to be a few modifications made.

A while back when cutting the angles to the back and front edges of the sides I realized that I had to come their finished size down a bit due to the base slightly being out. Unfortunately not realizing that this means that the ikebana base panel, top drawer base panel and the top carcass panel will have moved 2 mm forward. Well they are not moving its just its original location has changed due to the sides being shorter in width.

This has then made the back doors finished location different it has too had to be moved forward by 2mm. Also due to the angles on the doors and how the edging extrudes out a bit due to the angle ( about 3mm) this means that it pushes the front door flaps forward.

Now this is a problem since it effects the bottom ZYSA hinge connection between the base and the bottom edge section of the bottom front door flap. To fix this I will have to add edging on top of the already edging on the bottom of the base where the hinge holes are to account for the doors moving further out. These edgings will have to have the same hinge holes drilled in them and placed in the exact hinge hole locations. Once these are attached it will mean that I will have to add in packers to the hinge holes so the holes finish at 11mm deep.

I could not afford to cut down the panels since they had already their wenge mitered edgings added to them. Cutting them down would effect the miters making them look funny


There are a few gaps between the panels but this is due to the inlay strips not being planned down flush with the rest of the veneer panel. I will do another dry run when these are cleaned down to get a better assessment as to what I need to tweak.

But also due to the precise angles I made dark edgings just encase there were little tiny gaps.


There are gaps here but like I said this is due to the raised inlay strips. Also the top of the cabinet might be a little bit out which will create a bit of a problem when connecting the top. I will access this again when all the inlay strips are made flush if its still out I might need to plane down the tops of the sides so the top of the cabinet at fit in place properly.


Placed drawer box fronts in. This also showed me some modifications that I needed to make.


Ages ago I made modifications to the drawers but forgot to update it to the final measurements. This has meant that a few things have to be altered as I'm too far into the project now to make dramatic changes. These changes require me changing the drawer runner system ( not by heaps) and also some things have to be taken out. Originally I was going to have 7mm mitered edging running from the top and connecting to the outside side than bottom.

This 7mm edging I can still have for the bottom and top but I can not have it for the outer side. I had to do this to continue the 1mm gap all round. I cant cut down the fronts more since it will effect the bases.


Thinking a bit I don't think I will need to oil these sections before assembling the whole cabinet together. They are actually not that hard to get into. But with other cabinets I have seen that with drawers they don't oil the whole internal sections, they only oil about 1/3 to 1/2 way in. But these cabinets are for traditional drawers where they don't completely come out. These boxes completely come out.


Its mainly the top internal drawer cavity section that would be mainly seen if it all did not get oiled.


I'm quite happy with how the blond maple veneer connects with the dark wenge edging creates that very warm contrast.


Changing the drawer runners. Originally I was planning on using 20mm wide runners. I have thought about changing this to 15mm wide runners. Although the front sections will still be 20mm wide as the front of the drawer boxes are 16mm and I want that extra 4-5mm to act as a support lip. The sides are only 12mm wide.

Side sitting on 15mm wide drawer runner.

15mm wide.


20mm wide.


side sitting on 20mm wide drawer runner.